# \[Spot - POC] Pier FinOps Platform – AWS Configuration

## Configuration Process for Spot Product

#### Welcome to Pier Cloud!

Elaborated to provide clear and precise guidance, this guide covers the configuration of the AWS Spot Product, aiming to facilitate the understanding and execution of the necessary steps to start using it.

### **On the** Pier Cloud Platform

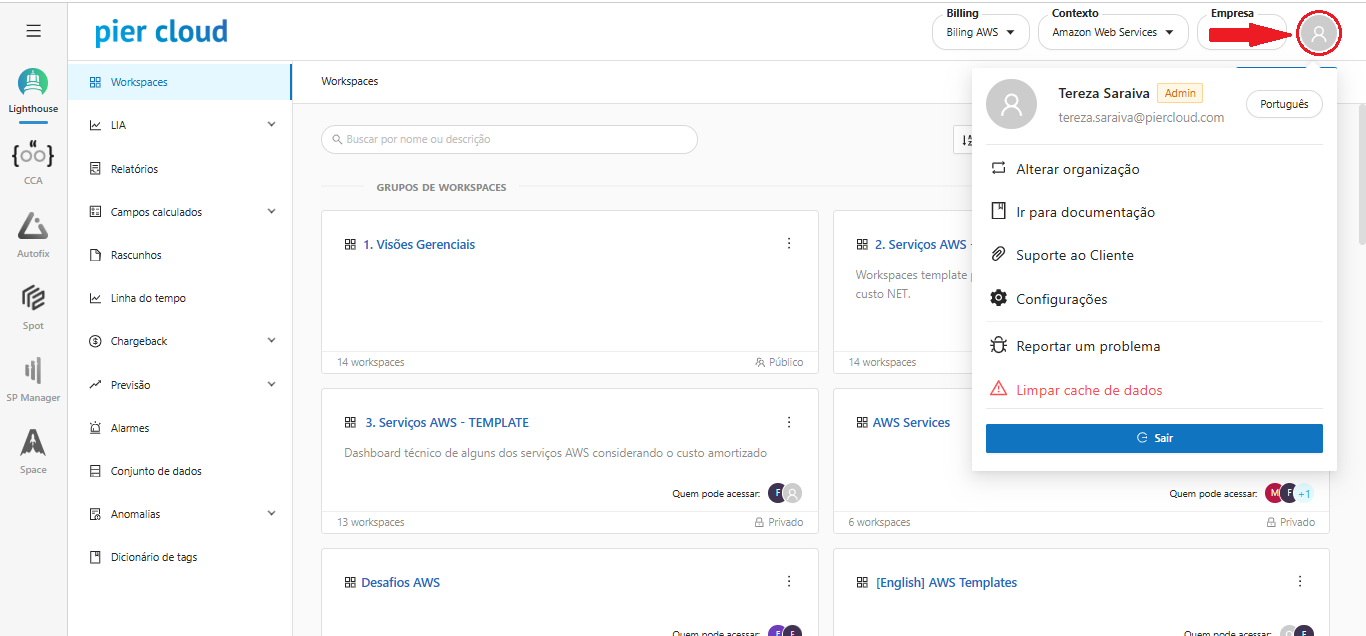
1. On the platform, within the **Amazon Web Services** Context, access **Settings:**

<figure><img src="https://1687673077-files.gitbook.io/~/files/v0/b/gitbook-x-prod.appspot.com/o/spaces%2FZ9sinLUl52lDK1vg6b8g%2Fuploads%2FwXP6qn9Qo13mTMmr87Uz%2Fimage.png?alt=media&#x26;token=9e0e4c3a-1a15-48d2-a738-fb33c54ece01" alt=""><figcaption></figcaption></figure>

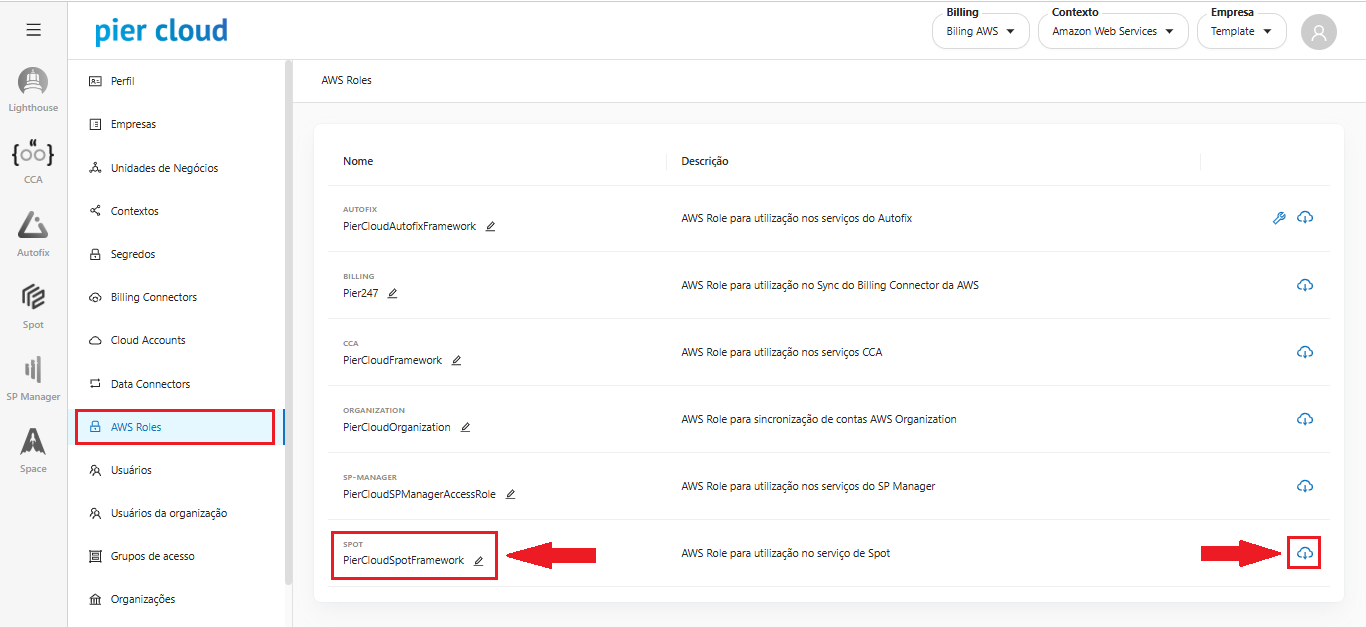
2. The first step is to **download the Yaml files** that are available on the Pier Cloud Platform.

Access the **settings** item:

<figure><img src="https://1687673077-files.gitbook.io/~/files/v0/b/gitbook-x-prod.appspot.com/o/spaces%2FZ9sinLUl52lDK1vg6b8g%2Fuploads%2FCHGnCUyHOqrLdvbEFWZr%2Fimage.png?alt=media&#x26;token=7da4de41-e9f5-4322-842b-1e68047488bf" alt=""><figcaption></figcaption></figure>

3. Here click on **AWS Roles**, in the bottom left menu, then find the role you want (in this case we will select **Spot-”Customer Name”**), then click on the icon in the bottom right corner, to download the role, as illustrated in the image below.

   **Note**: If you want to change the role name, click on the pencil-shaped icon that appears next to the role name.

<figure><img src="https://1687673077-files.gitbook.io/~/files/v0/b/gitbook-x-prod.appspot.com/o/spaces%2FZ9sinLUl52lDK1vg6b8g%2Fuploads%2Fsn6zOhRBI8H6iOZ5qkSw%2Fimage.png?alt=media&#x26;token=db705225-0871-45d5-b167-b5d040f15c5f" alt=""><figcaption></figcaption></figure>

### In the AWS environmen&#x74;**:**

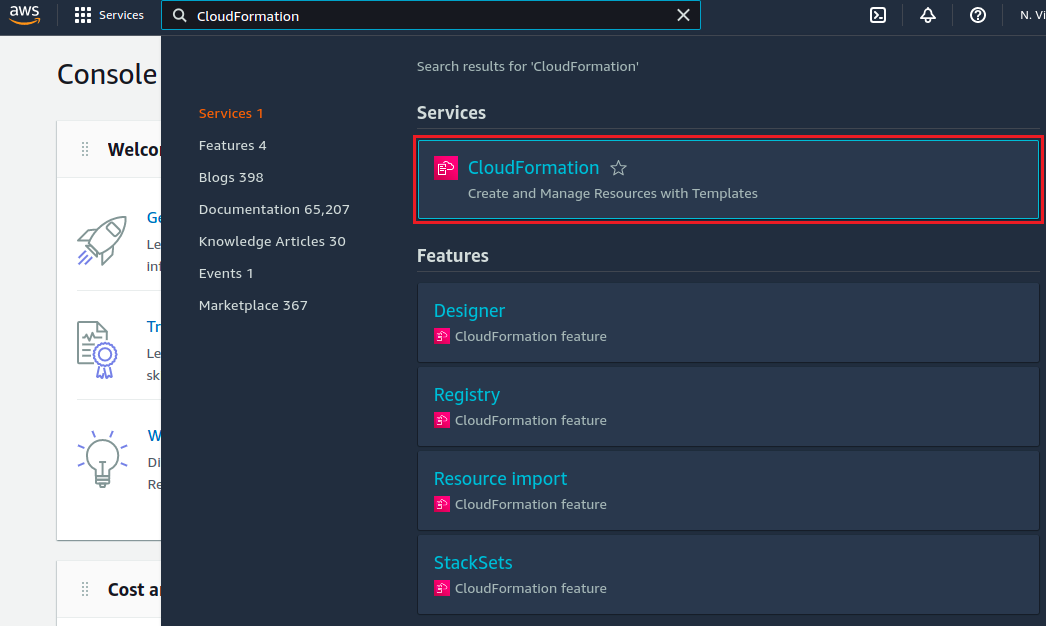
1. In the Services menu, choose the **Cloud Formation** option.

<figure><img src="https://1687673077-files.gitbook.io/~/files/v0/b/gitbook-x-prod.appspot.com/o/spaces%2FZ9sinLUl52lDK1vg6b8g%2Fuploads%2F0TgHoZCZcn6njTvsL0bZ%2Fimage.png?alt=media&#x26;token=a07fadf8-5e46-4b1b-8a18-bde40ecfefb3" alt=""><figcaption></figcaption></figure>

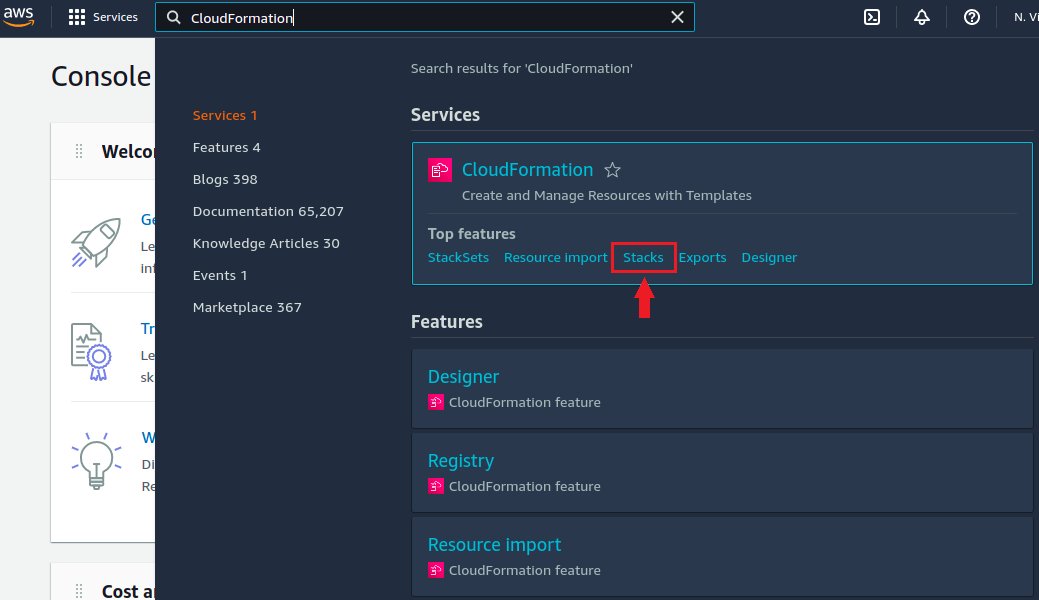
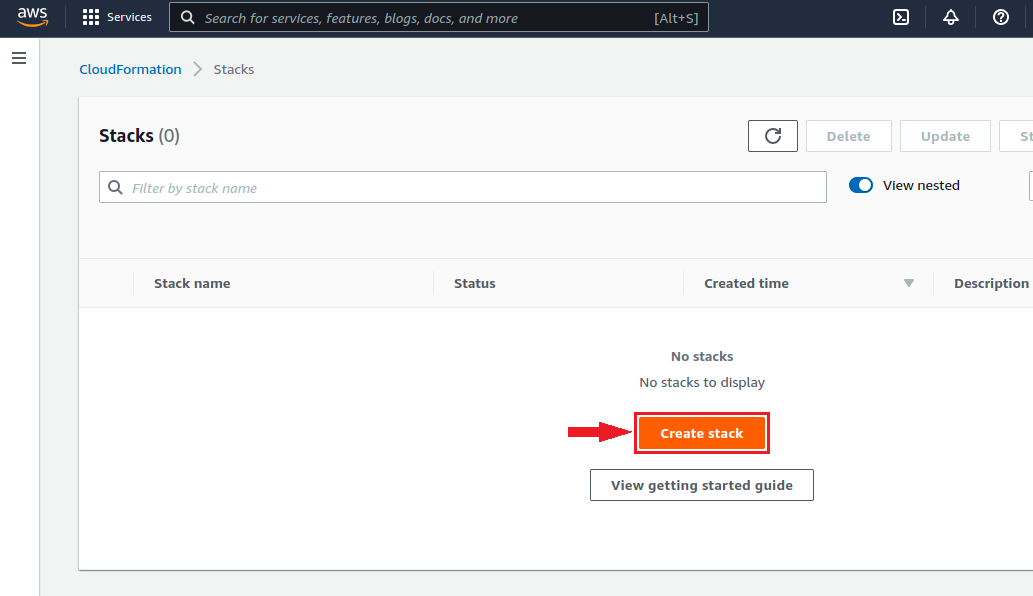
2. Click on **Stacks**.

<figure><img src="https://1687673077-files.gitbook.io/~/files/v0/b/gitbook-x-prod.appspot.com/o/spaces%2FZ9sinLUl52lDK1vg6b8g%2Fuploads%2Fp5uOLO2vmcGUjIriKdiv%2Fimage.png?alt=media&#x26;token=7bae36b8-712f-46a3-b0a5-aeba52780ece" alt=""><figcaption></figcaption></figure>

3. Click **Create Stack**.

<figure><img src="https://1687673077-files.gitbook.io/~/files/v0/b/gitbook-x-prod.appspot.com/o/spaces%2FZ9sinLUl52lDK1vg6b8g%2Fuploads%2FK6c8xohY5pLLjBbGSagp%2Fimage.png?alt=media&#x26;token=f0171a3d-8357-49d7-801e-47412c8d6ed9" alt=""><figcaption></figcaption></figure>

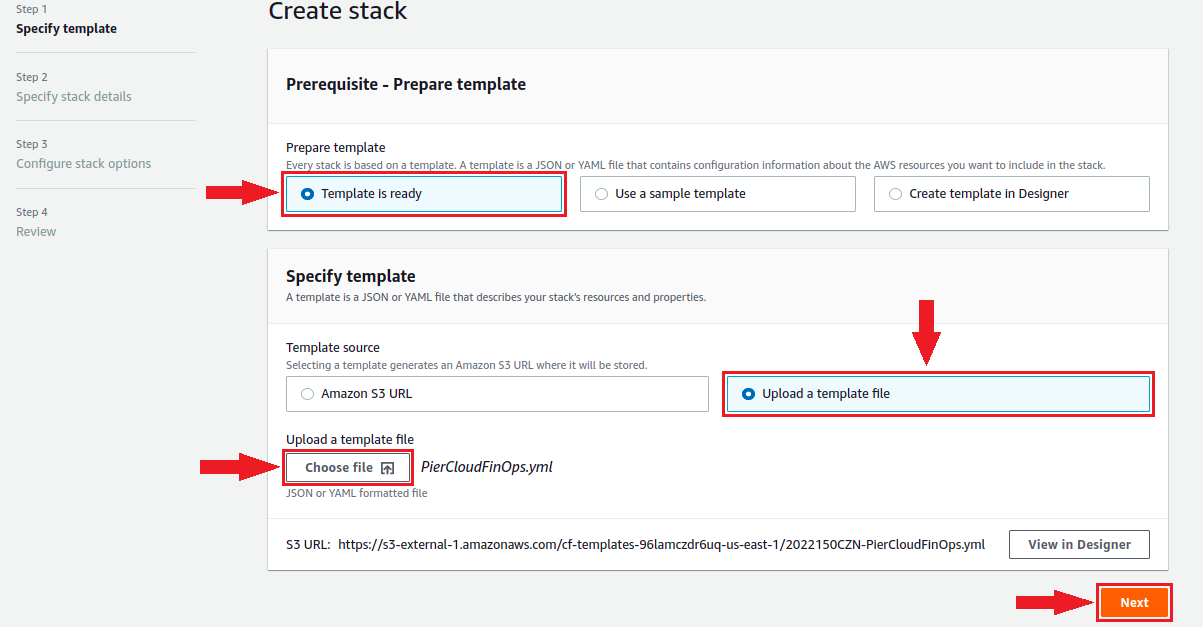
4. Choose the option: **Template is ready**, and then **Upload a template file**. Locate the **PierCloud.yml** file, downloaded from the platform in step 1 and after uploading the file click **Next**.

<figure><img src="https://1687673077-files.gitbook.io/~/files/v0/b/gitbook-x-prod.appspot.com/o/spaces%2FZ9sinLUl52lDK1vg6b8g%2Fuploads%2FEG5C4MmwCwV9VrPrTZz6%2Fimage.png?alt=media&#x26;token=0ca39561-dc41-4582-b5e0-947dbf146f0c" alt=""><figcaption></figcaption></figure>

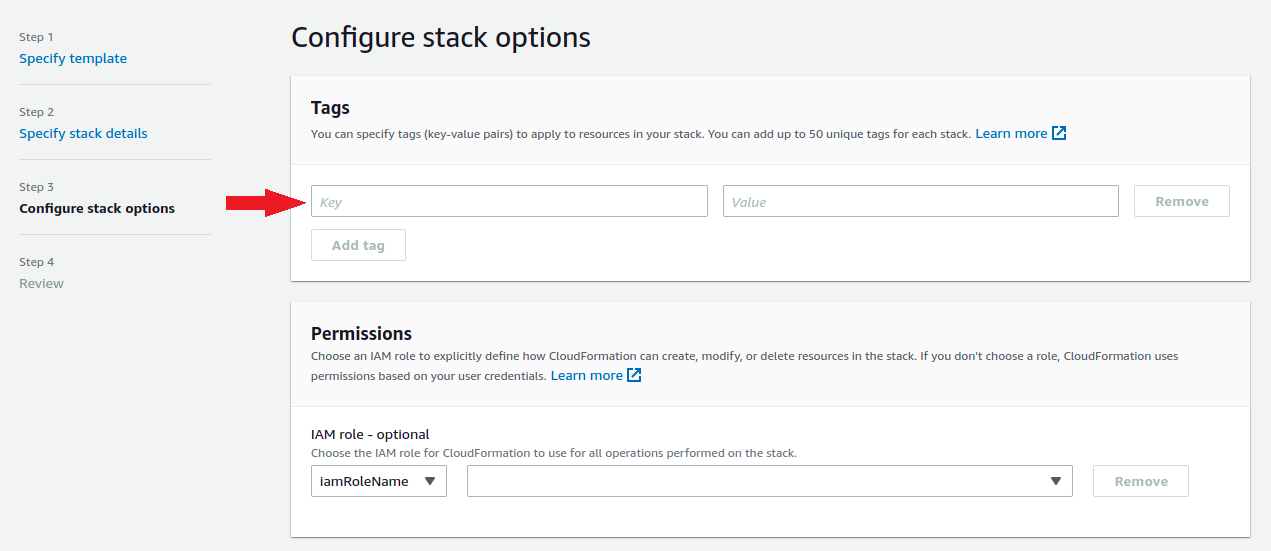
5. If you want to assign any TAG to this Role, you can do so on this page. Otherwise, scroll to the bottom and click **Next**.

<figure><img src="https://1687673077-files.gitbook.io/~/files/v0/b/gitbook-x-prod.appspot.com/o/spaces%2FZ9sinLUl52lDK1vg6b8g%2Fuploads%2FtjKVJYYzk303CLDItnUL%2Fimage.png?alt=media&#x26;token=bb1bdf26-43a5-4c6f-a083-4ebae145790f" alt=""><figcaption></figcaption></figure>

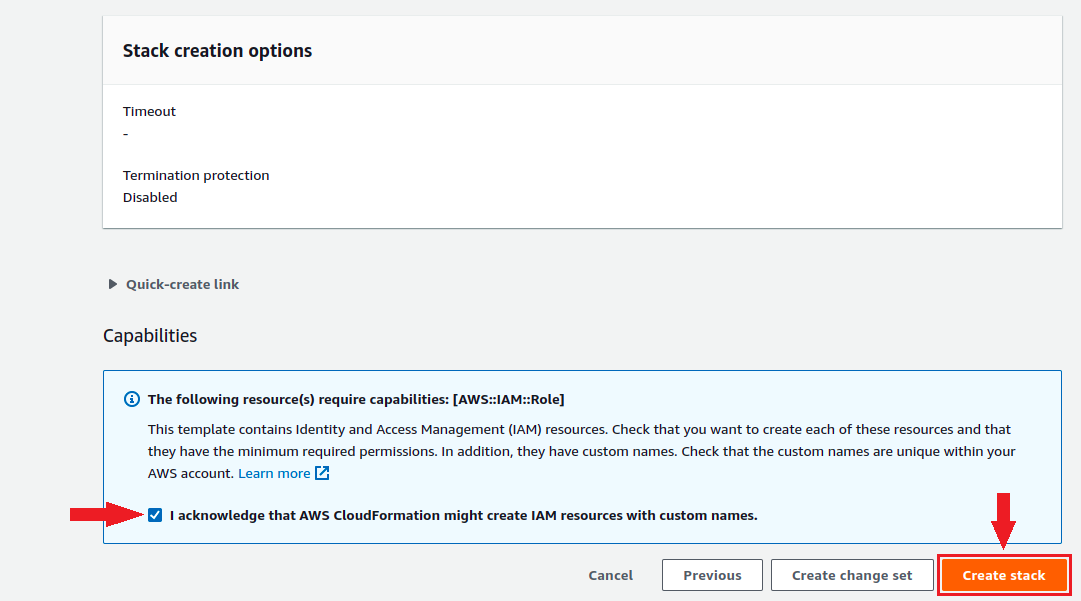
6. Click the **checkbox** to confirm the creation of the resource and then click **Create stack.**

<figure><img src="https://1687673077-files.gitbook.io/~/files/v0/b/gitbook-x-prod.appspot.com/o/spaces%2FZ9sinLUl52lDK1vg6b8g%2Fuploads%2FeJgVkBgxtWfP7VhOZi8x%2Fimage.png?alt=media&#x26;token=e6b79bed-0833-422c-89b3-2a4a2f1f95e6" alt=""><figcaption></figcaption></figure>

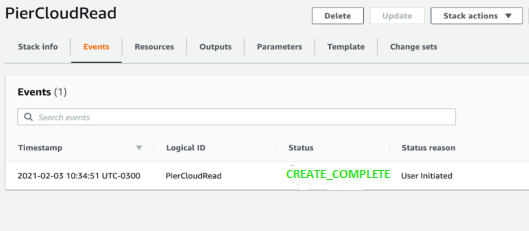
7. Cloud Formation will start creating the PierCloud Role. After a few minutes you should see **CREATE\_COMPLETE** in the status column.

<figure><img src="https://1687673077-files.gitbook.io/~/files/v0/b/gitbook-x-prod.appspot.com/o/spaces%2FZ9sinLUl52lDK1vg6b8g%2Fuploads%2FWpXWRWxKyX69lptCVkAc%2Fimage.png?alt=media&#x26;token=16f46814-ab1e-4af9-b6d7-273989096b3d" alt=""><figcaption></figcaption></figure>

8. That's it, the configuration is complete.

Below is a summary of the information that must be sent to Pier Cloud:

* **Roles**: Spot-customername
  * ID of the Accounts where the role was installed

**Note**: **If the organization role has been installed on the org account, it will not be necessary to send the ID**

<br>
