# Consumption Groups
These are the business units of the company or organization responsible for cost management and budget control. **Consumption Groups** are a Lighthouse feature designed for cloud cost management and budget control.
Organizations typically manage the costs of cloud resources and services centrally. However, different departments use these resources, creating the need to allocate costs to the departments that actually use them.
Use Consumption Groups to perform cost **showback** and **chargeback**, promoting accountability for cloud spending. This provides cost visibility and helps the company manage the high costs of technology in the digital age.
**Before Starting**:
First of all, we need to finalize the Organizational Map and all the parts related to the showback, the business units and cost centers responsible for the allocations must be well defined and, as recommended, documented in a table.
\
**Create and Manage Chargeback by Competency**
**Step-by-step execution**:
**Create a Custom Field**
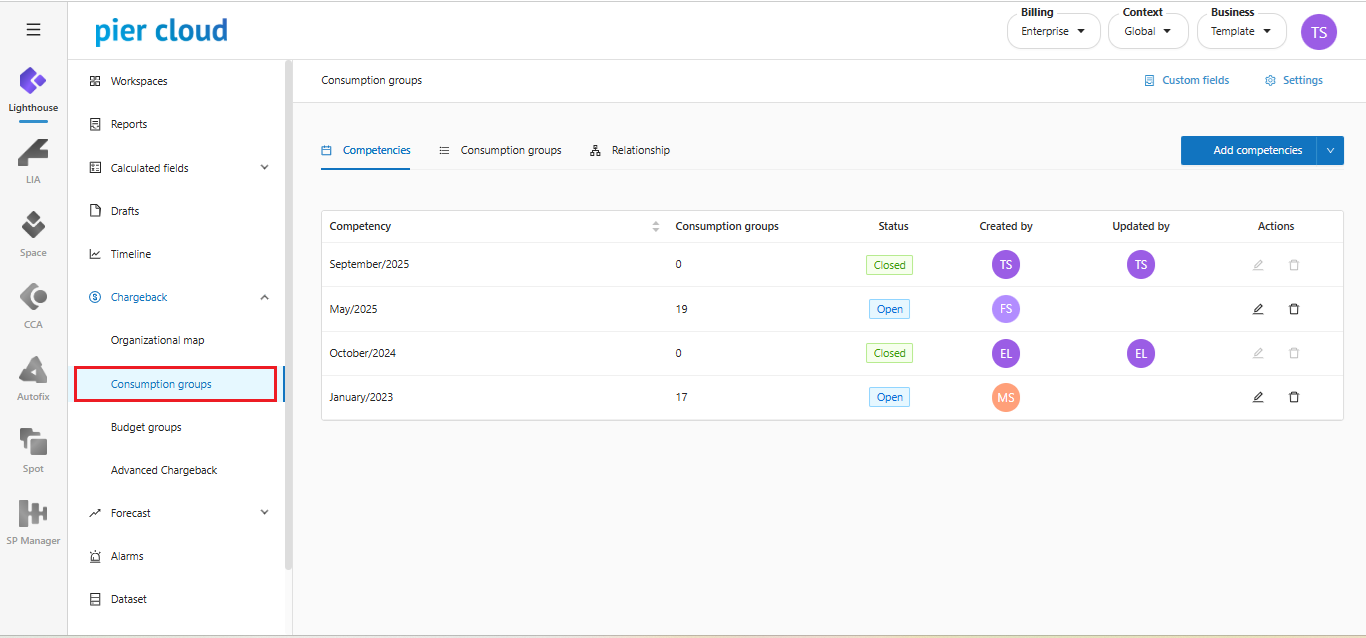
**Step 1**: Go to Chargeback and select Consumption Group from the side menu.
**Step 2**: Click on the **Custom Fields** option
**Step 3**: The system will display the **Custom Fields** screen so that you can enter new fields when creating a **Consumption Group**:
**Step 4**: Click the "**Add Field**" button:
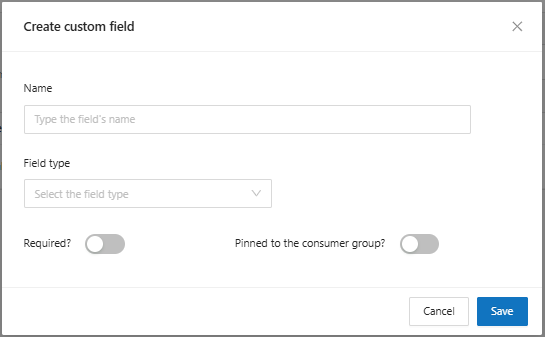
**Step 5**: The system will display the screen to create new custom fields, where you will need to enter:
* **Name**: Enter the name that will be assigned to the new custom field
* **Field Type**: Select the field type from the available options: **Text (Small), Text (Large), Number and Dropdown**.
* **Required**: Indicate whether the field will be mandatory or not
* **Pinned to the consumption group**: Inform whether the field will be fixed when creating the consumption group
By clicking the Save button, the custom field will be created.
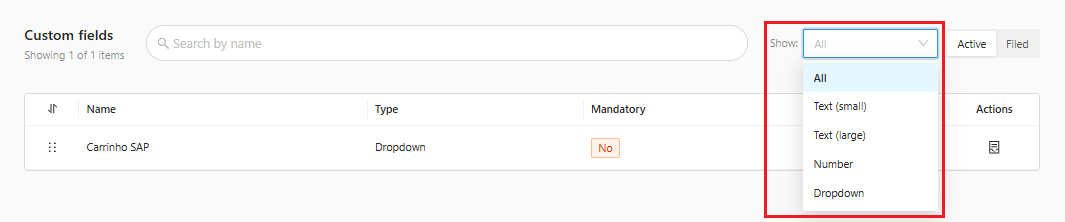
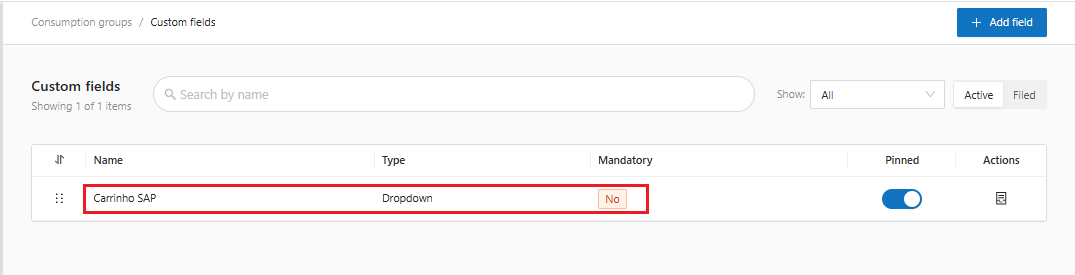
**Step 6**: On the main custom fields screen, you can view the created fields and apply some **Filter** options.
* **Name**: You can search by field name,
* **Show**: Search for fields according to the type created: **Text (Small), Text (Large), Number and Dropdown.**
* **Status**: List only **Active** or **Filed** fields
**Step 7**: The system also allows you to perform some actions on the listed fields:
* **Edit**: It is possible to edit the field information by clicking on some information related to the field, as illustrated below:
* **Pinned**: It is possible to change whether the field will be fixed or not when creating the consumption group.
* Filed field: You can archive a field that will no longer be used.
**Configure the Consumption Group**
**Step 1**: Click on the **Settings** option
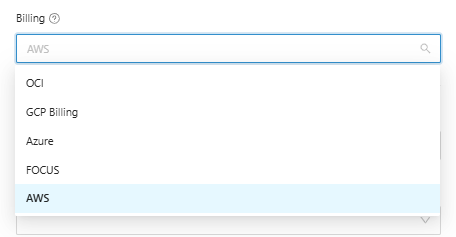
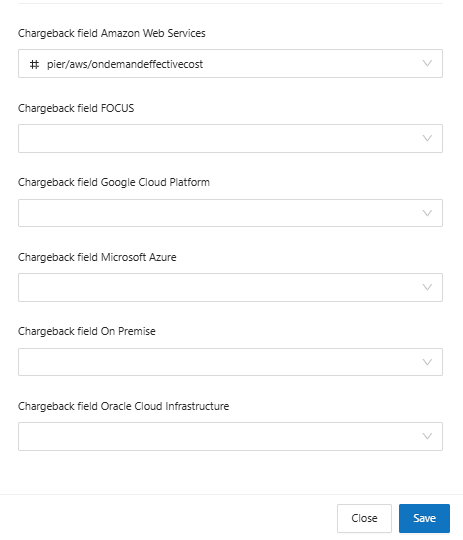
**Step 2**: The system will display the screen to configure some chargeback fields.
* **Billing**: It will be necessary to inform the provider of the Billing field that will be used in the Chargeback.
* **Chargeback Field**: Depending on the selected Provider, it will be necessary to inform the corresponding Billing Chargeback Field.
Once done, just click Save and the configuration will be applied to the Consumption Group of your Chargeback.
**Create a New Competency**
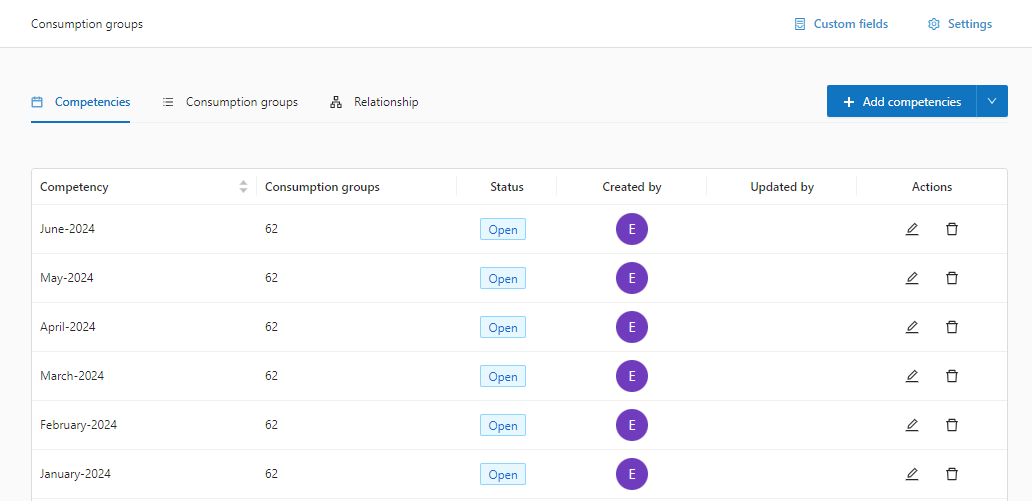
**Step 1**: Access the competencies panel.
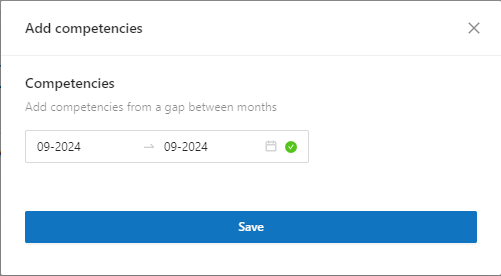
**Step 2:** Add a competency or competency range.
In the Competencies panel, click **Add Competencies**
**Step 3**: Enter the competency or a range of competencies
Click **Save**.
That's it! Competency created
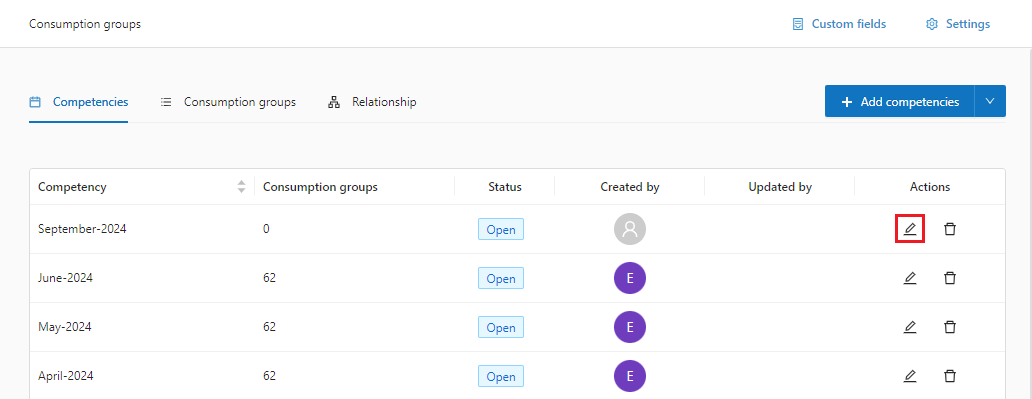
**Close the Competency**
**Step 1**: Click the Edit Competency icon.
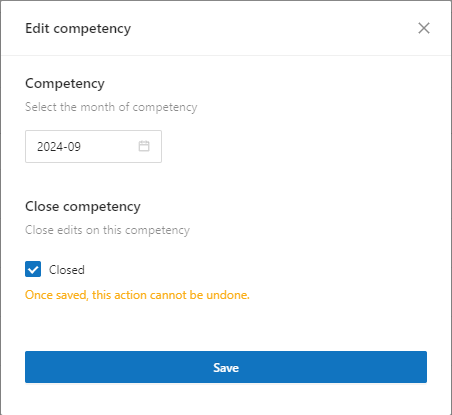
**Step 2**: Close the competency by clicking and activating the checkbox.
Click **Save**.
That's it! Competency closed
Important!
{% hint style="warning" %} Lighthouse will not allow any changes or reopenings after the competency is closed.
{% endhint %}
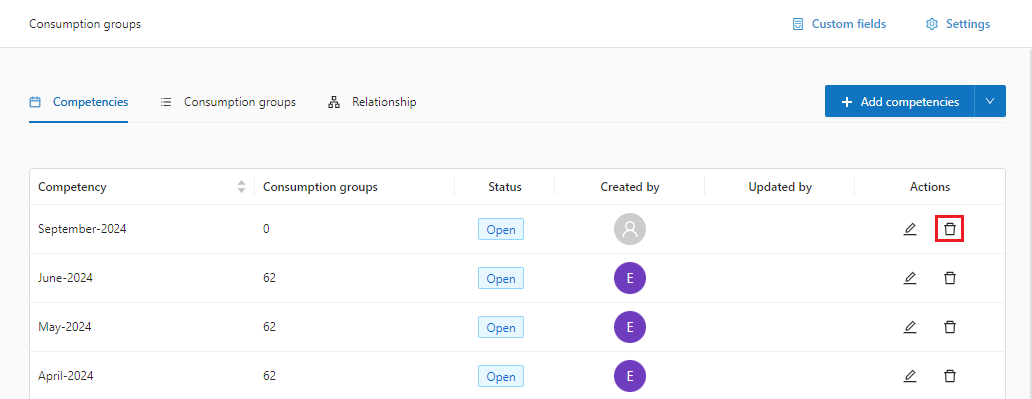
**Remove Competencies**
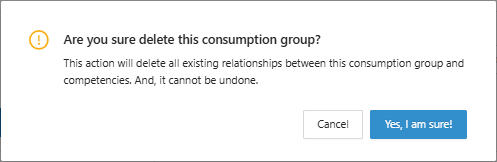
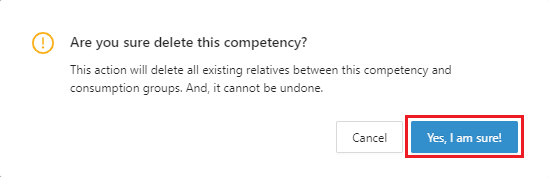
**Step 1**: Click the **Delete Competency** icon.
**Step 2:** Confirm the deletion of the competency by clicking “**Yes, I am sure!**”.
That's it! Competency deleted
**Access the Consumption Group**
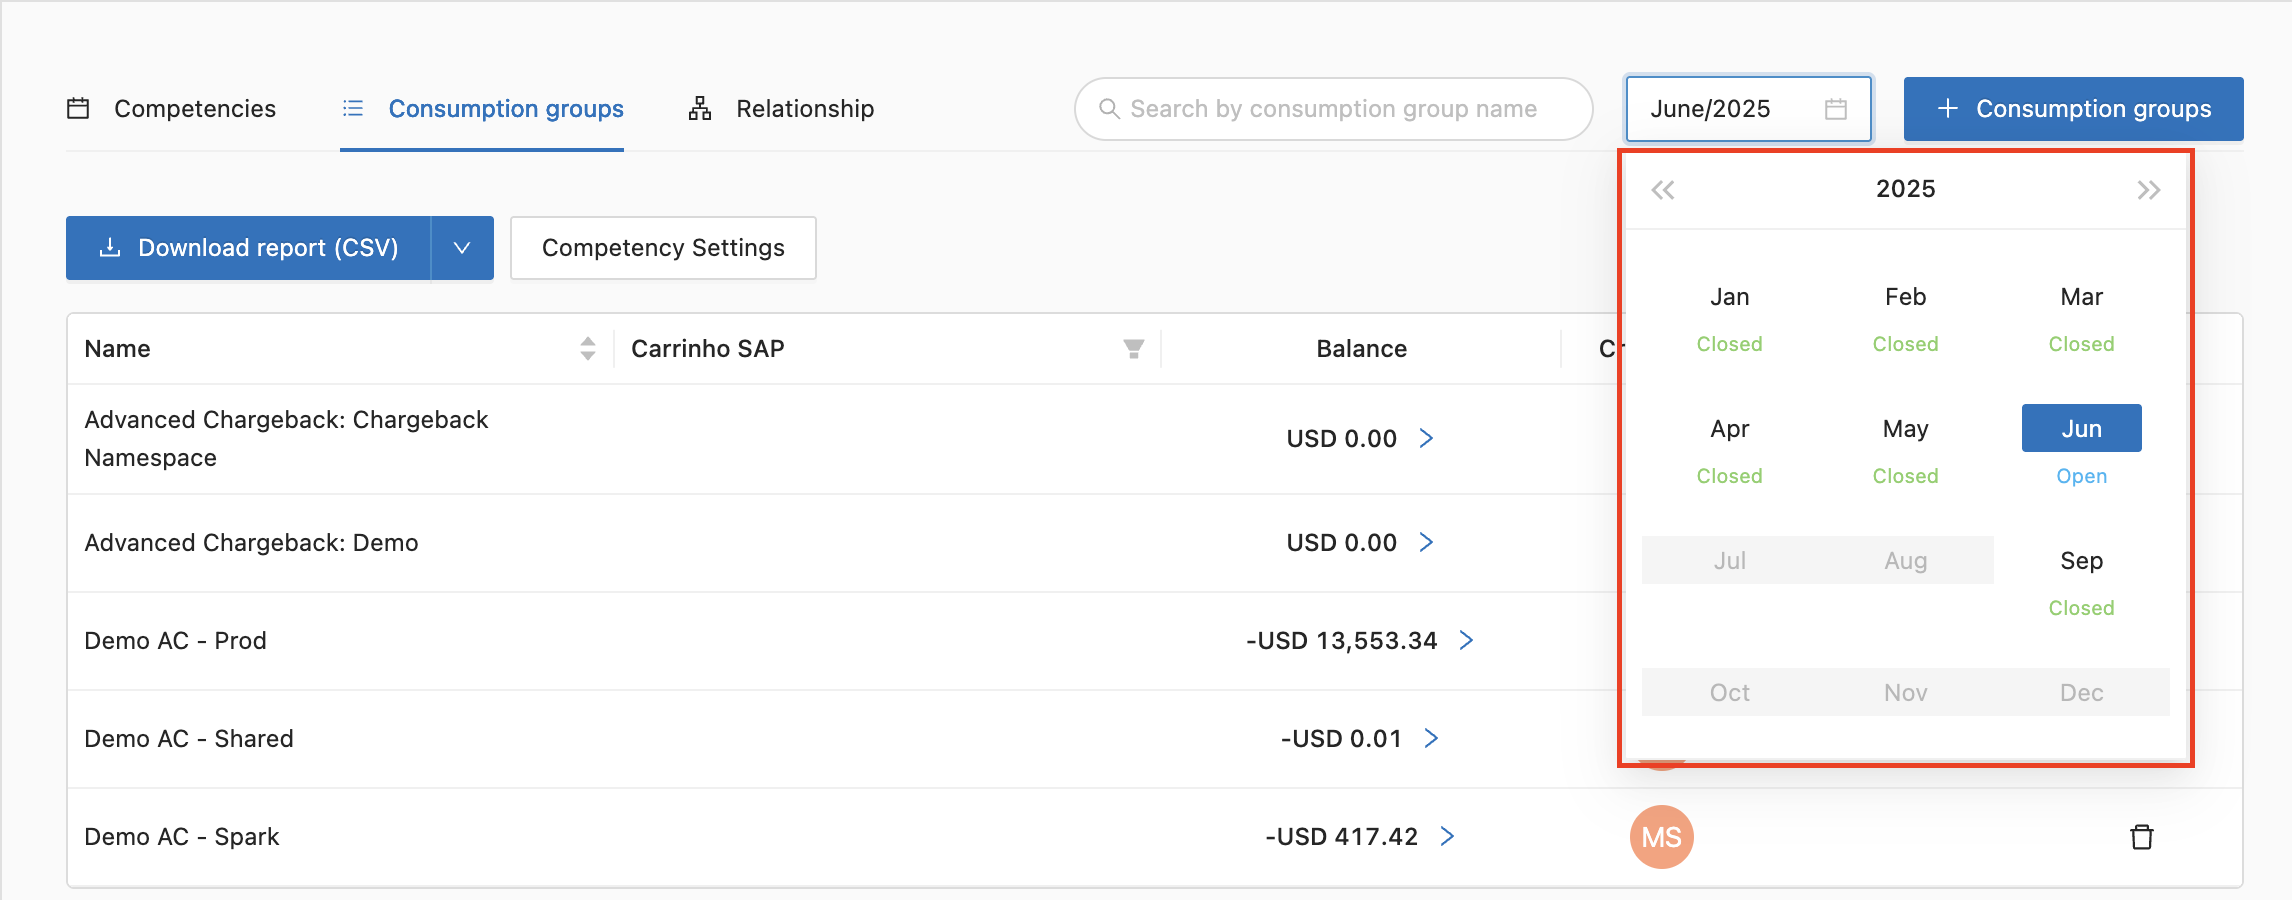
**Step 1**: In Consumption Groups access the **Consumption Groups** panel
**Step 2**: The system allows you to apply some filter options:
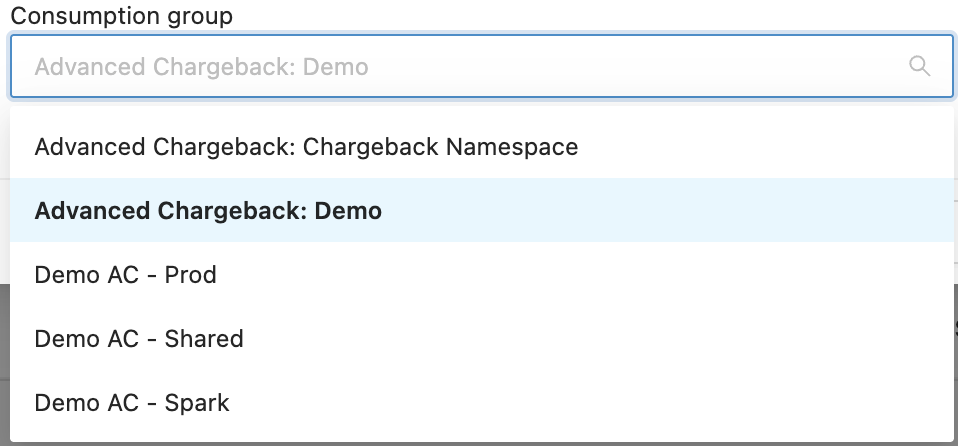
* **Consumption Group Name**: Enter some information regarding the name of the consumption group so that the system can return all groups containing the information entered.
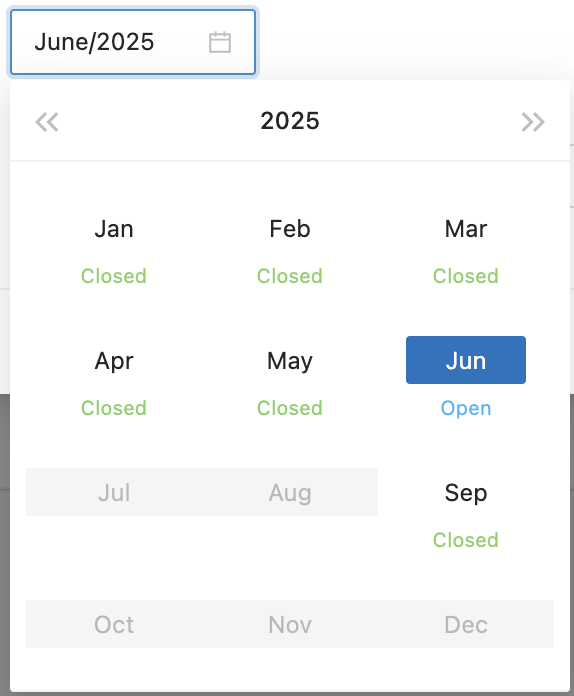
* **Competency**: Select the month of competence you want to work on in the research.
**Step 3**: The system allows you to download the CSV report by clicking on the highlighted button:
Which will display a screen to select the desired competency and the name under which the report will be saved:
By clicking the "**Download report**" button, the file will be downloaded to your computer.
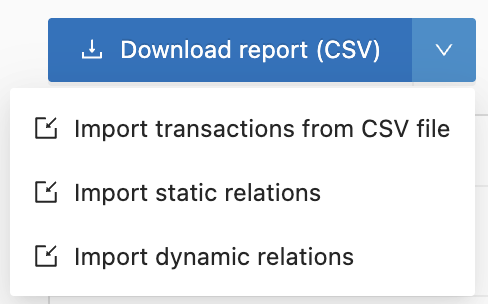
In addition to allowing you to download the report in CSV format, by clicking on the arrow next to it:
The system also allows you to perform the following actions:
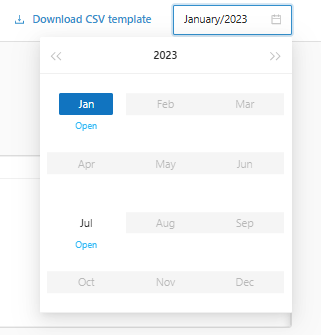
* **Import transactions from CSV file**: When you click on the "**import transactions from CSV file**" option, the system will open the following screen to select the file you want to import.
You can select the option to overwrite existing transactions:
Download the template to a CSV file:
Clean screen data:
And change the month to another one that is open:
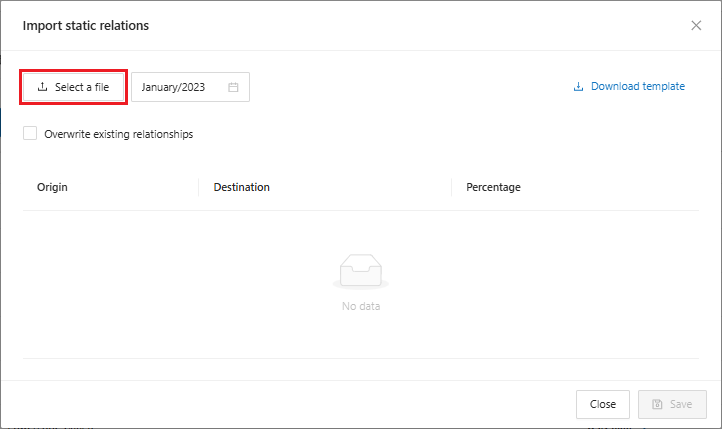
* **Import Static Relations**: When clicking on the "Import Static Relations" option, the system will open the following screen to select the file you want to import
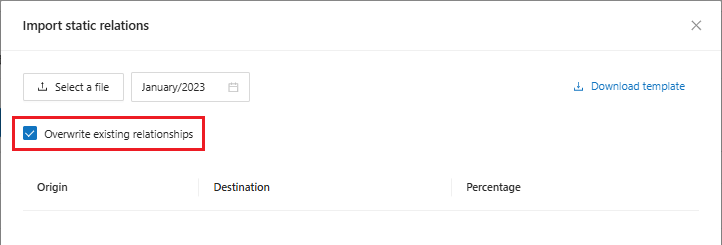
You can select the option to overwrite existing transactions:
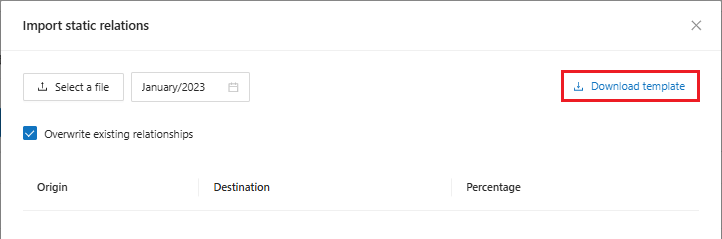
Download the template to a CSV file:
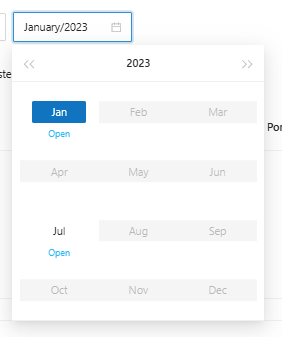
E alterar o mês para outro que esteja aberto:
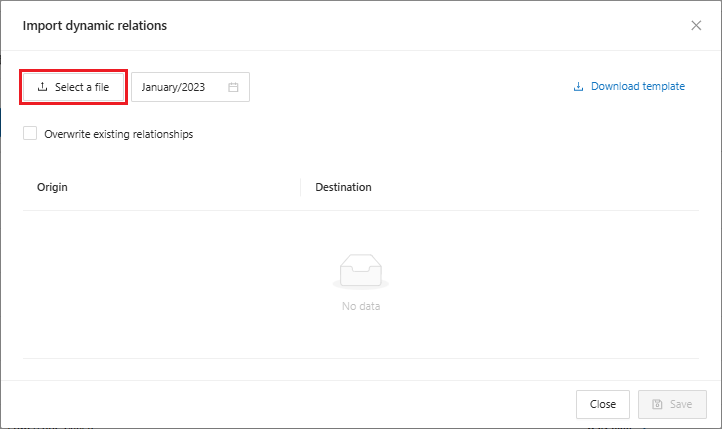
* **Import Dynamic Relations**: When clicking on the "Import Dynamic Relations" option, the system will open the following screen to select the file you want to import
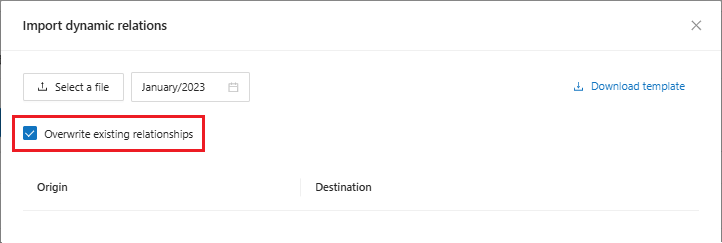
You can select the option to overwrite existing transactions:
Download the template to a CSV file:
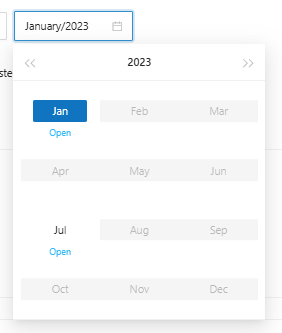
And change the month to another one that is open:
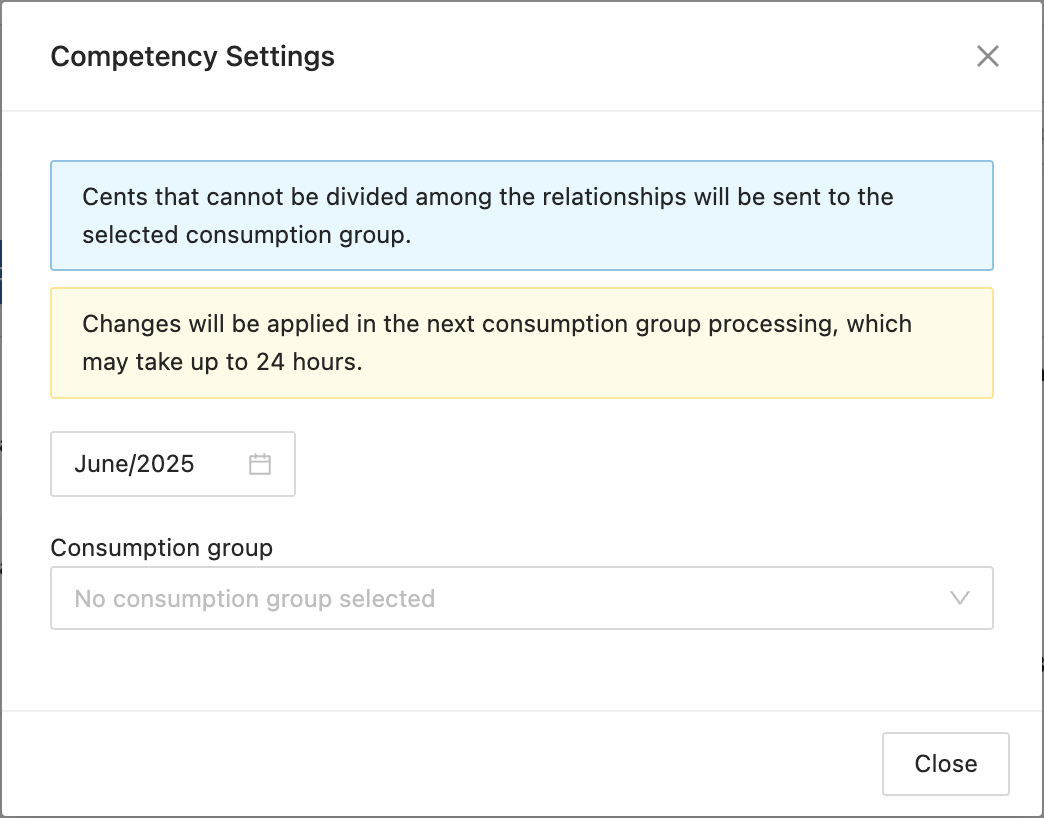
**Step 4:** By clicking on the **Competency Settings** option, the system allows you to configure the consumption group to which cents that cannot be divided between the relationships will be sent:
The system will display the screen for configuring the competency
Allowing you to select the competency that will be applied
In addition to informing the consumer group that the remaining cents will be sent.
{% hint style="info" %}
Changes will be applied in the next consumption group processing, which may take up to 24 hours.
{% endhint %}
When you click **Close**, the configuration will be applied to the consumption group.
**Create a New Consumption Group**
**Step 1**: And add new Consumption Groups, by clicking on the highlighted button.
**Step 2**: Enter the name of the consumption group and the custom fields, then click **Continue**.
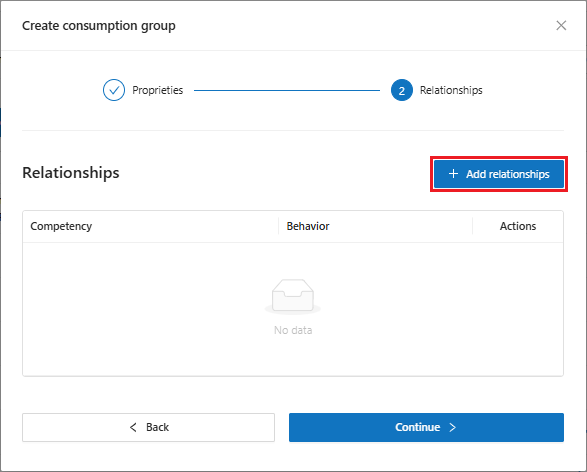
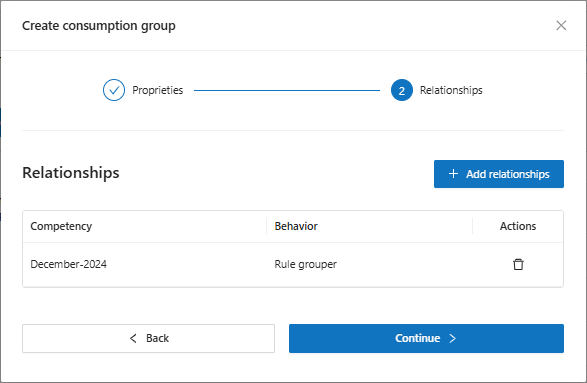
**Step 3**: Click **Add relationships**
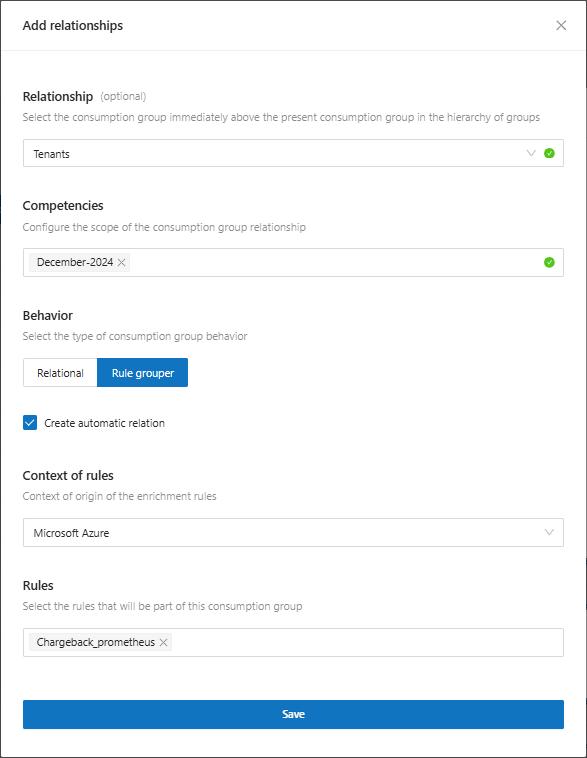
**Step 4**: Inform the data to add the Consumption Group relationship.
* **Relationship (Optional)**: Consumption group immediately above in the hierarchy
* **Competencies**: Inform the scope of the consumption group relationship
* **Behavior**: Choose the type of consumption group behavior:
* **Relational**: Use this option to create a hierarchy relationship.
* **Rule Grouper**: Use this option to group the rules and inform:
* **Context of rules**: The origin of the rules, for example: Microsoft Azure, AWS, GCP.
* **Rules**: Relate the rules to the consumption group, which rules from the Organizational Map you will link to the corresponding Group.
* **Create automatic relationship**: When selecting a relationship option, the system will enable this option to create an automatic Parent relationship with the consumer group immediately above in the hierarchy. So that the cost existing in the child Consumption Group is automatically reflected in the parent Consumption Group (i.e. always one level above in the hierarchy).
Click **Save**!
**Step 5**: When saving the relationship you will return to the previous screen, click Continue.
The Consumption Group has been successfully created!
**Actions**
For each consumption group presented in the report, the system allows you to perform the following action:
**Remove**: When clicking on the "" icon, the system will display a confirmation screen, where you will need to click on the "Yes, I am sure!" button, which will delete the consumption group.


.png?alt=media&token=87ca9e38-0a4c-4290-bdfc-8f0a517df4f0)

.png?alt=media&token=e6fe3c15-752d-4c3c-be23-0c41049b0230)


.png?alt=media&token=64f3f811-d68a-4c42-a8ce-0807c74bb242)

.png?alt=media&token=96a99604-3f90-4ebd-979d-665f99d8e3d1)